Overview
Dossier enables you to build solutions where you’re in full control of the content. By bringing your own auth (authentication and authorization), database and backend, you can build a headless Content Management System (CMS) and integrate it with your app.
To get a flavor of Dossier, let's use the Playground to create some content.
Create schema with entity type
In Playground you can start with an empty database or explore any of the examples (e.g. this article is available in the documentation example). All your changes are stored in the browser memory only, so if you refresh or close the browser tab all changes are lost.
Let's start with an empty database by clicking on the "Load empty database" button, which takes us to the Schema page.
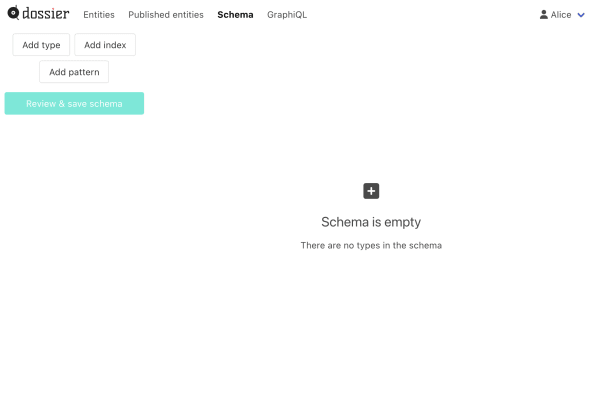
As you can see the schema is empty. The schema defines the structure of all content so we need to configure it before we can store any content in Dossier.
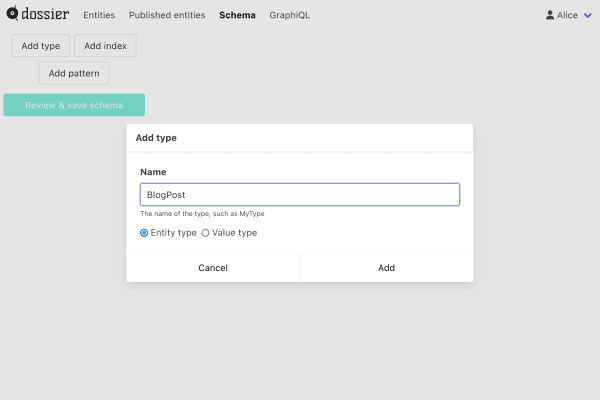
Let's start with adding a type. There are two different kinds of types, entity and component type. Entity types define the structure of entities, which is the main content stored in Dossier. Component types define the structure of components, which are similar but have to be stored in an entity and can't live on their own. Click on "Add type", and add an entity type with the name BlogPost.
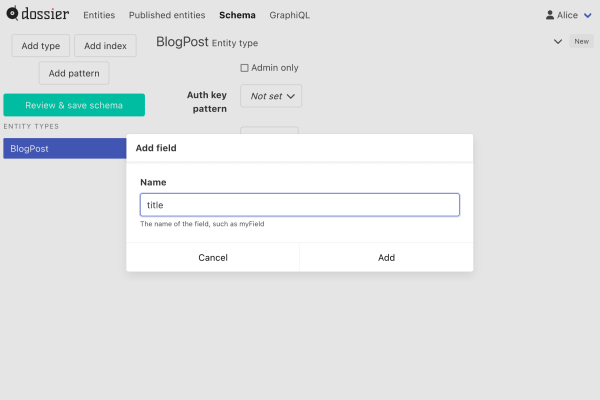
An entity type without any fields is quite useless. Click on "Add field" and create a field with the name title.
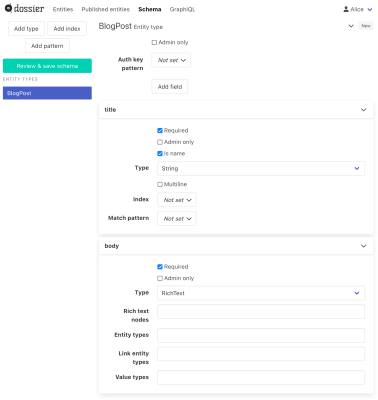
Since we want to ensure that every blog post has a title, check "Required". We also want the title to automatically fill in the name of the entity select "title" in the "Name field" dropdown.
Before we're done, let's add a body field, make it required and change the type to RichText.
Click on "Review & save schema" and "Save".
Create entity
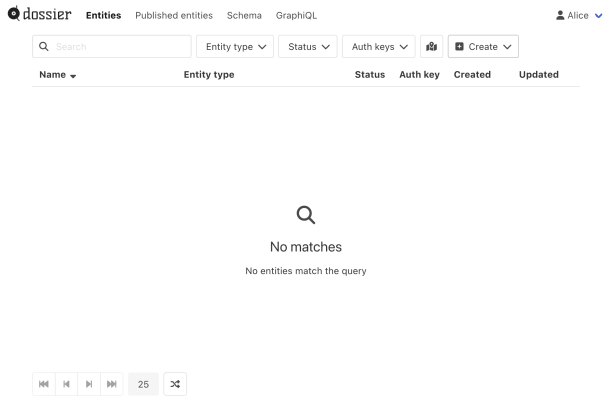
Now when we have an entity type in the schema we can go to the Content screen, which will be empty.
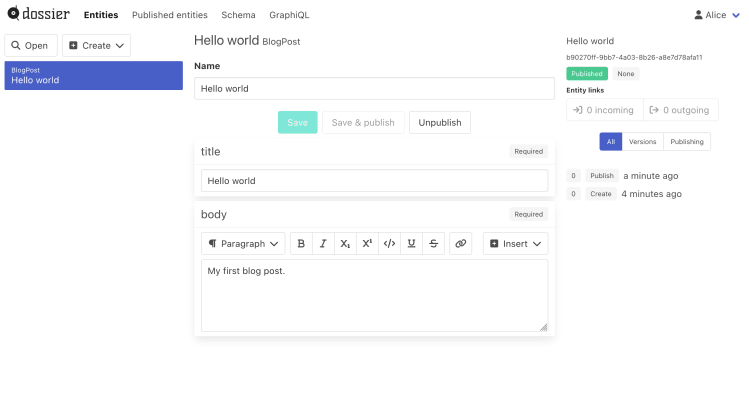
Click on Create and select BlogPost to go to the content editor screen, where we can fill out the fields.
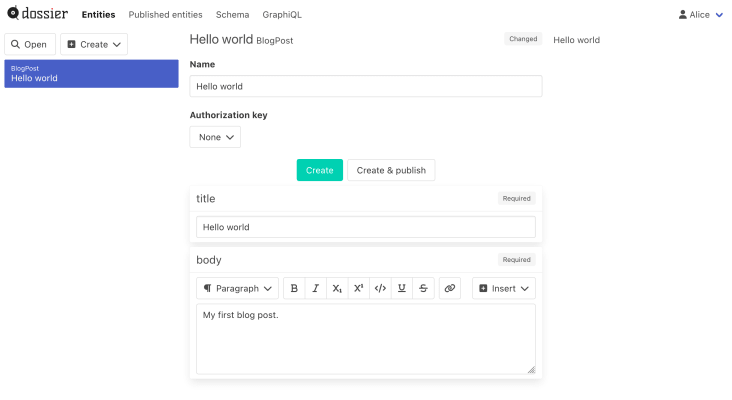
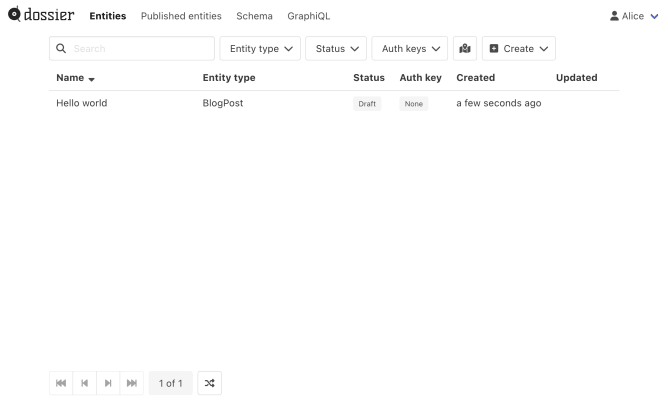
Fill out the fields and click "Create" to create the entity. Go back to the Content screen and ensure that it's included in the list.
Publish entity
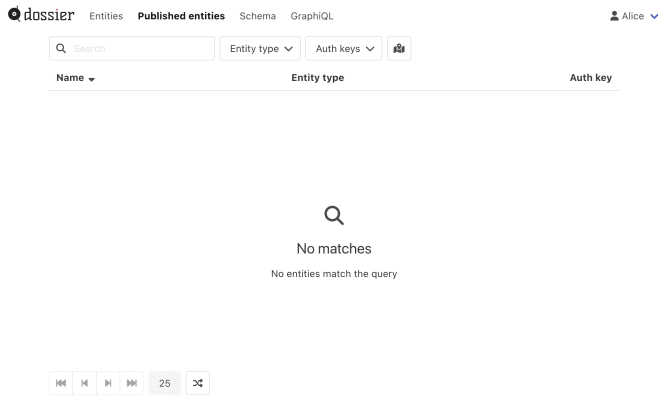
Go to the Published content screen and ensure that it's not included, since we haven't published the entity.
Go back to the content editor and click on Publish to publish the entity. You'll see that the status changes from draft to published.
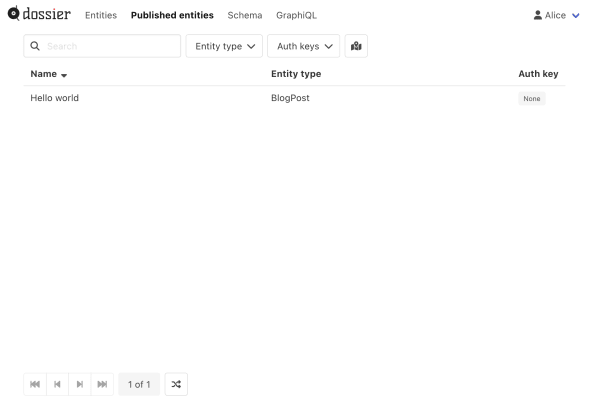
Now the entity will show up on the Published content screen.
Now you should have a good grasp of to make changes to the schema and manage content. Remember to download the database to your computer if you want to keep your changes.
Explore the Playground or read more in the deep dive documentation.